
A quest is a card for a job you give to a hero. It is a ledger that outlasts the session, keeping the title, goal, owner and verification together.
Six stages#
The bar at the top of the card shows where the quest is. The "Next" box always tells you what to do at that stage.
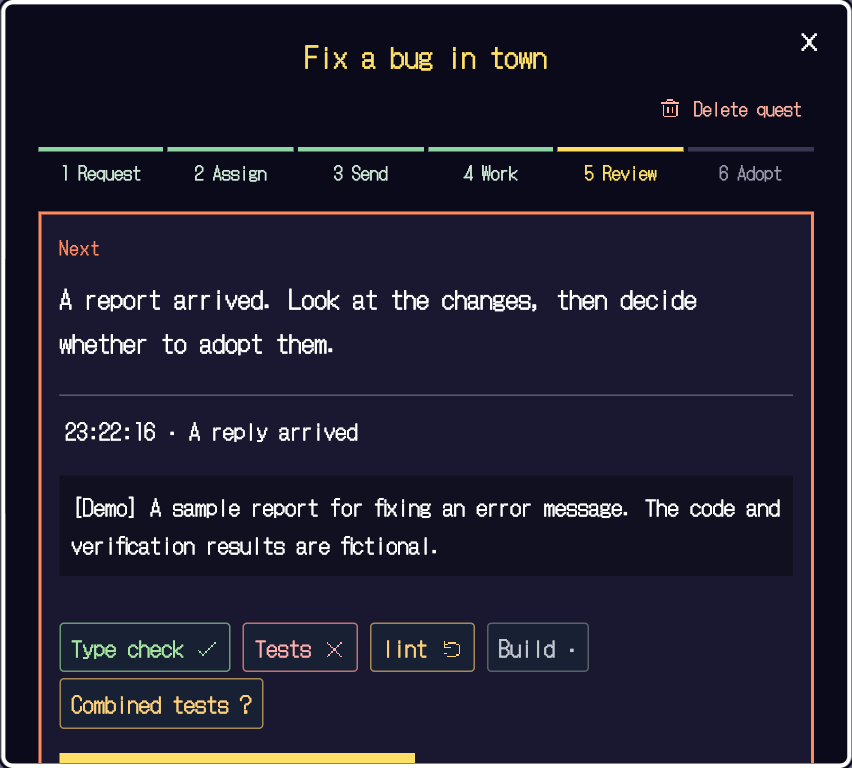
| Stage | What you do |
|---|---|
| 1 Request | Write the title and goal |
| 2 Assign | Choose the hero who takes it |
| 3 Send | Check the text and send the request |
| 4 Work | Wait for the hero's work and report |
| 5 Review | Read the report and the actual changes |
| 6 Adopt | Record that you accepted it and finish |
Create a quest#
Open the Quests tab on the right and select "+ Write a new quest".
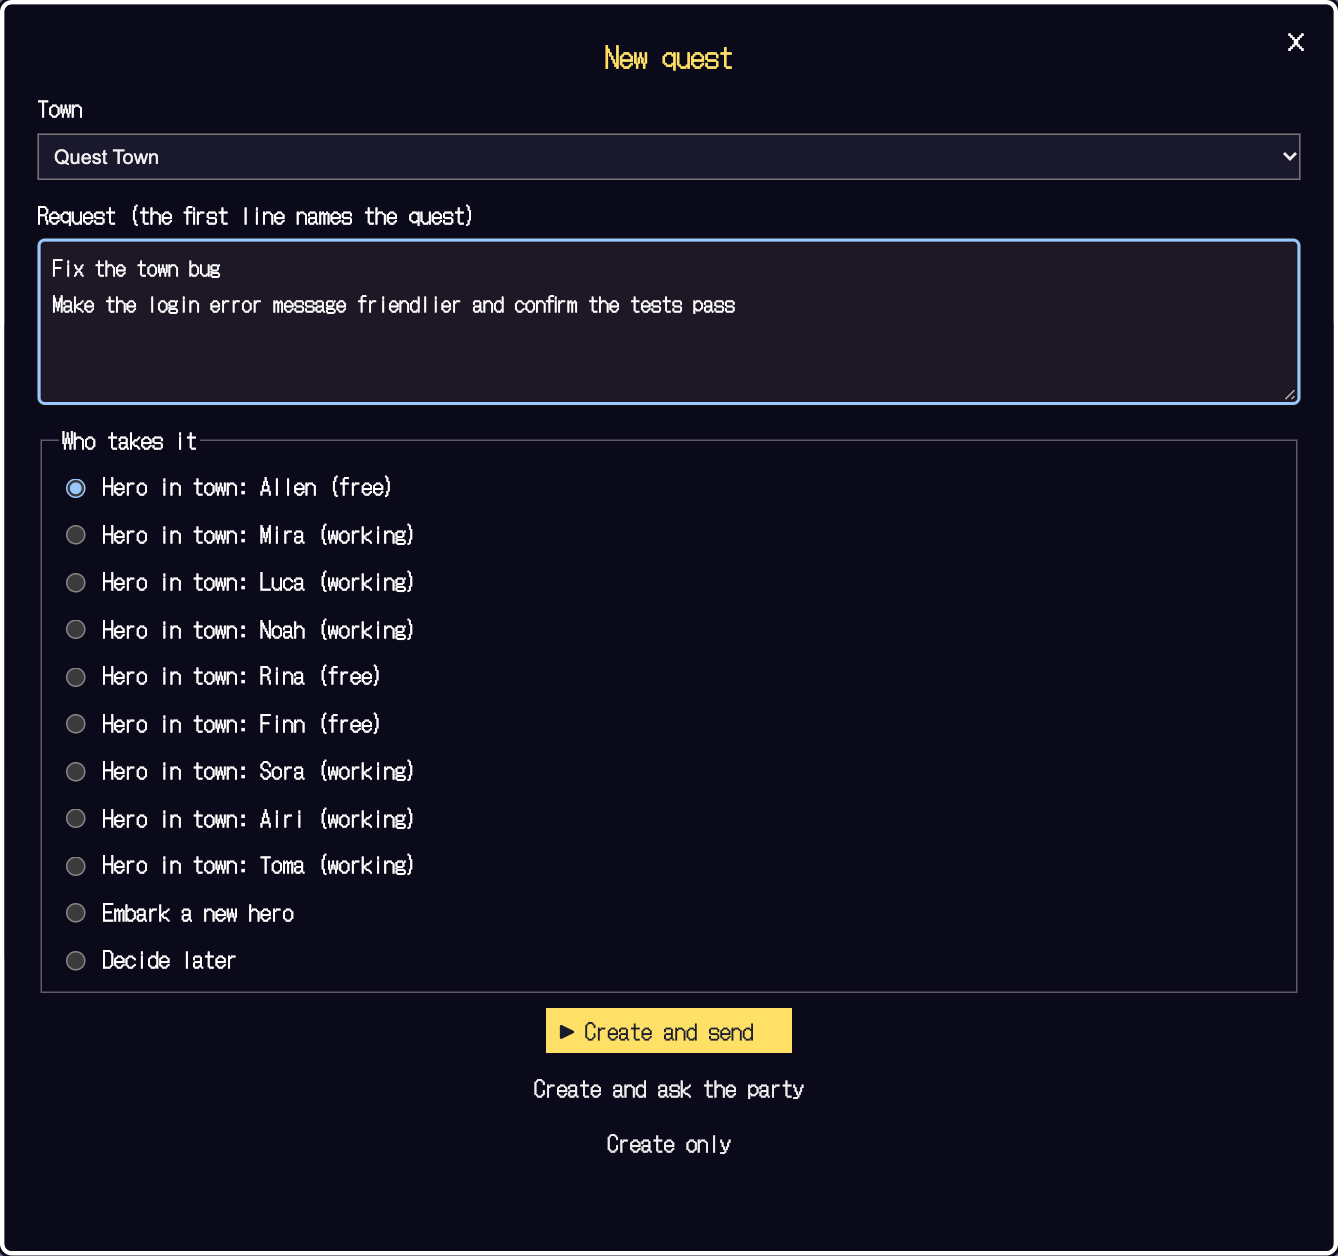
- Choose the town
Choose which project the job belongs to.
- Write the request
Make the first line a short name that is easy to find in the list. From the second line on, write what to change and how to check it.
- Choose who takes it
Choose a hero already in town; a free hero is the easy choice. If nobody is there yet, choose "Embark a new hero", and if you are not sure, choose "Decide later".
- Pick a button
Button What happens Create and send Creates the quest, assigns the hero you chose, and moves to the send check. Nothing has been sent yet. Create and ask the party Creates the quest, then continues to forming a party. See Form a party Create only Creates just the card. You can choose the owner and send the request later.
Edit the request and goal#
After creating a quest you can still open Edit request, goal and status on the card to refine the request and goal. Acceptance checks and preview settings are also here.
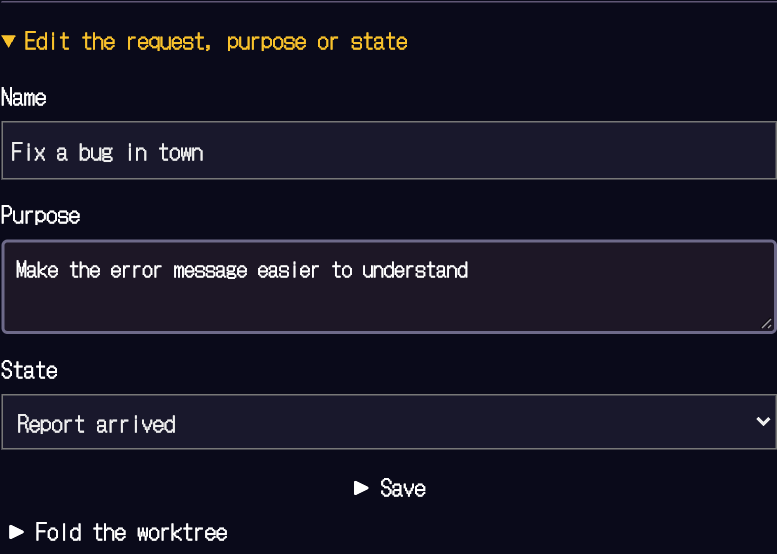
Instead of "fix the bug", write "make the login error message friendlier and confirm the tests pass". When the check is in the goal, the report is easier to judge.
Choose the hero#
On a quest with no owner, the Next box on the card shows a list to choose from.
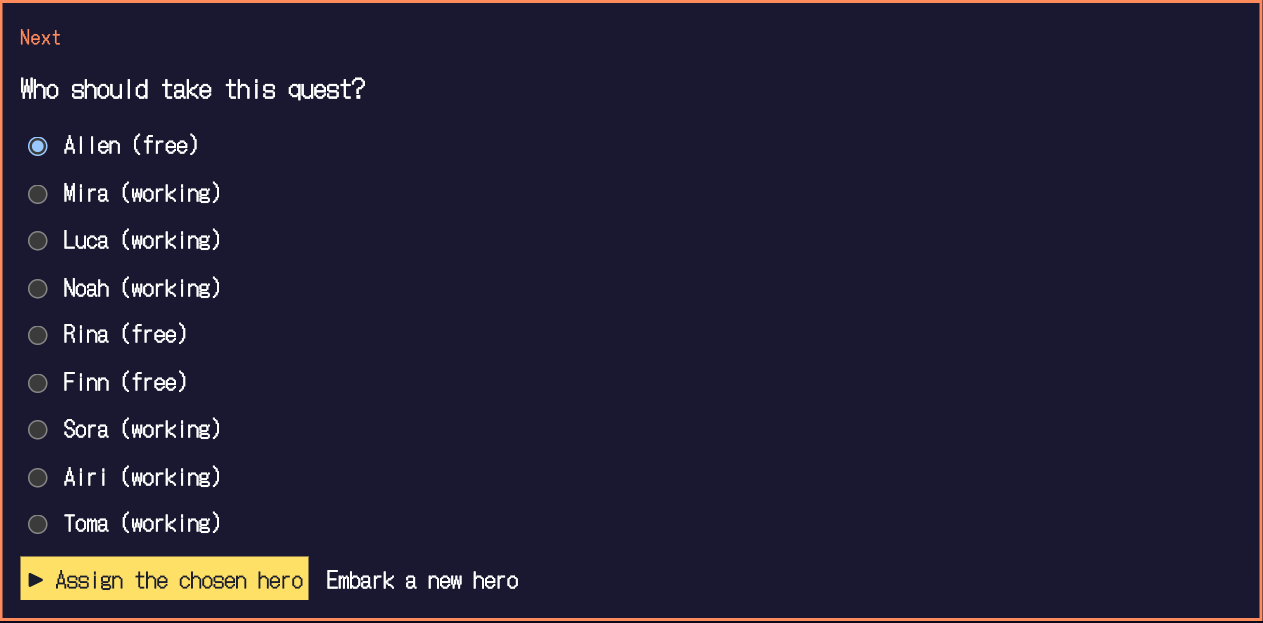
Select a hero and press Assign the chosen hero. This only sets the owner; the request is not sent yet. If nobody is in town, use Embark a new hero (see Embark a hero).
When one hero is not enough, see Form a party. If one hero is enough, skip it.
Check and send#
Once an owner is set, the Next box changes to "send the request". A draft of the text appears; use it as it is or rewrite it. Nothing is sent automatically, so you get a last look.
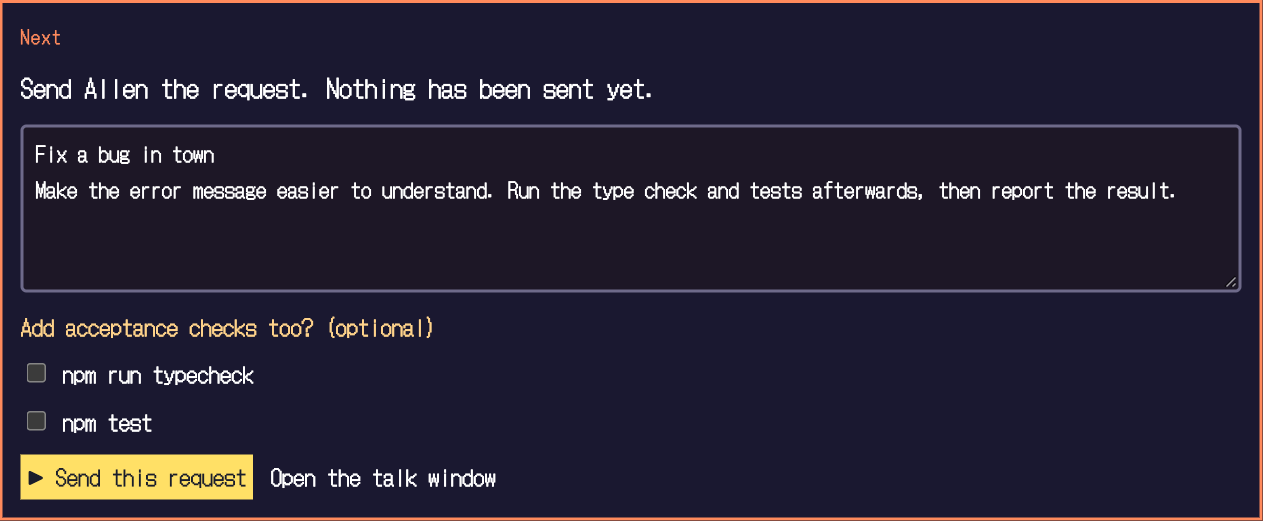
- Check the text
The draft is built from your request and goal.
- Select Send this request
This is the first moment the hero receives the request. If the hero is busy, the request is held and delivered when the hero is free.
- Watch it change to Working
Watch the town and fields while you wait for the report.
Open the talk window or a hero's Talk lets you speak to the hero directly. You can also open the real terminal of the same session.
The text goes to your agent as written. Do not put secrets such as API keys in it.